The Chaska Area Quilt Club is a group of individuals who meet on a monthly basis to share their love of quilting. The club celebrated their 35th anniversary in 2023.
The June 8th meeting will be held at the Chanhassen Recreation Center, 2310 Coulter Blvd.
See the Meeting News for details.
The next "Fall Splendor of Quilts Show" will be held September 25-26, 2026. The featured speaker will be Amy Pabst. Details of the 2026 show can be found on the Quilt Show page and will be updated as more information becomes available.
The regular club meeting night is the second Monday of the month. All meetings in 2026 will be in-person. The in-person meetings regularly start at 7:00pm but the socializing starts at 6:30. In July, our monthly meeting is a picnic in the park and in December, our monthly meeting is a holiday party at an outside venue. For detailed information on individual meetings check out Meeting News.
Welcome to Chaska Area Quilt Club
Our Quilting Community
Join Us Today
New members are always welcome and can join at any meeting. Please contact caqcmembership@gmail.com about joining other than at a meeting.
The Chaska Area Quilt Club welcomes ALL in friendship by providing a supportive community with a curiosity for learning and sharing the art of quilting from diverse perspectives.
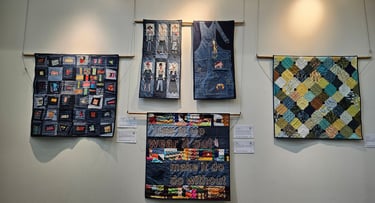
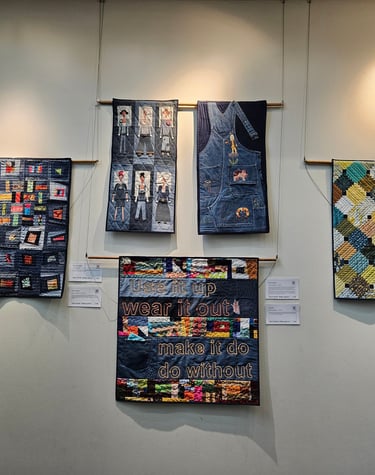
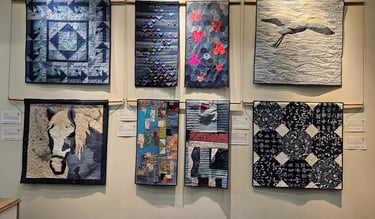
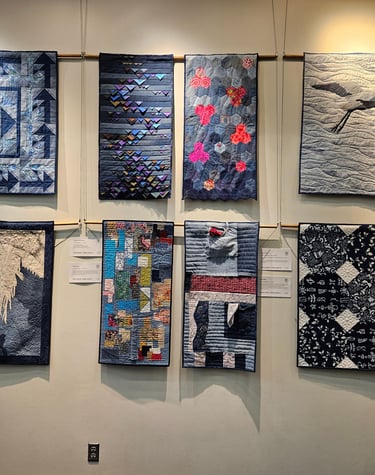
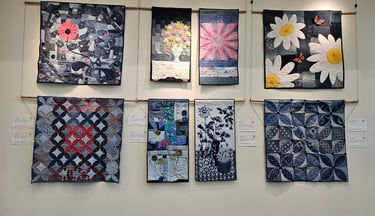
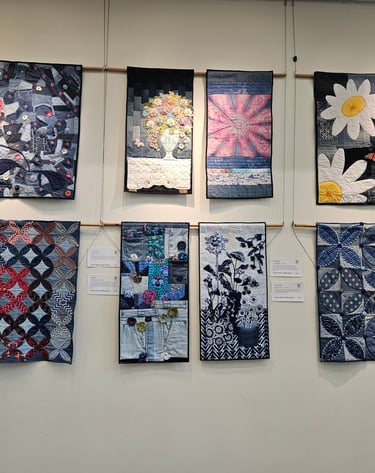
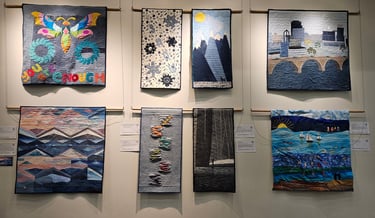
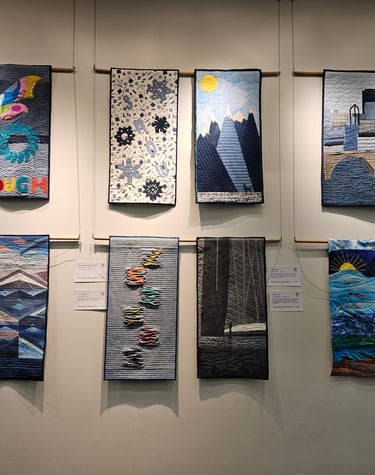
Quilt Gallery
Display of Challenge Quilts from the "Fall Splendor of Quilts" 2024 Show.
Contact Chaska Area Quilt Club
Get in touch with our quilting guild in the Chaska, MN area. We welcome inquiries and love to connect with fellow quilting enthusiasts.
PO Box 952
Chanhassen, MN 55317, US
Questions: caqcinfo@caqc.net